Return To Main MIRC Menu
MIRC for beginners

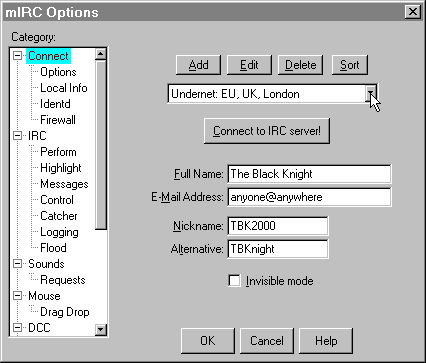
The first step is to connect mIRC to an IRC server. The connect options are the settings for this step. If you need help refer to the mIRC connect options page.
Once you have connected to the server you'll need to find a channel to join. Click the little 'globe' icon on the toolbar. The channel list options window will appear.
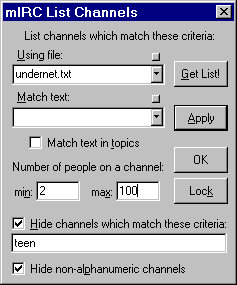
The 'Using File' box is the name mIRC will use to save the channel list to. Its not important at the moment. The 'Match text' box lets you enter a keyword that mIRC should try to find. Its not important now, but it can help you to find specific types of rooms if you should need to. Checking the 'Match text in topics' box means mIRC will look in topics for the text, not just in the channel name.
The next two boxes are important. You can limit the list of channels to only include rooms that have no less than 'Min' and no more than 'Max' people in them. A good pair of values for a first time is min=6 max=20. However you may prefer to simply list all of the channels min=1 max=999.
When you have set any restrictions you want, click the 'Get List' button and mIRC will start collecting a full list of channels from the server. It will open a channels list window to display the list.
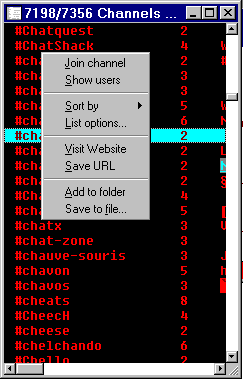
The picture here shows a channel list from the Undernet group of servers and included over 7,000 channels. The size of some networks is the main reason that you have options to restrict the list on criteria such as number of users or particular words.
By right-clicking on any channel in the list a popup menu (shown in the image above) will appear. This gives you the option to simply join the channel; to list the names of people in the room; or to add the channel to those in your channel folder.
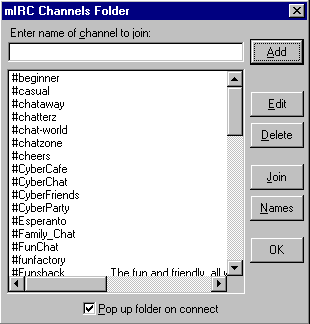
The channel folder is opened from the folder icon next to the globe. You can add channels to this folder either from the channel list as explained above, or by entering the channel name in the text box at the top. Place all your favourite rooms in the folder and you won't have to keep going through the slow proceedure of getting a channel list from the server.
Once you choose a channel to join, the channel window will open. The image below shows a sample channel window. Colours vary with tastes and it is very often true that no two people in a channel will have exactly the same display.
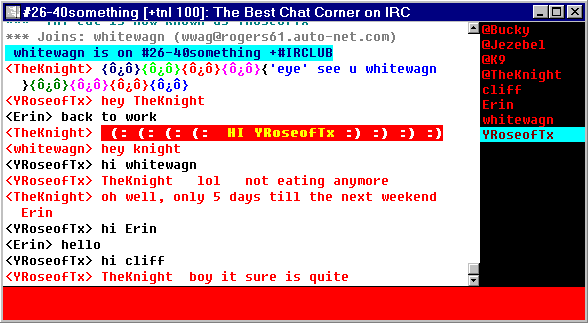
The different colours in the sample image help me to point out the three main sections of the window. The large white area is the main display, the main part of the channel window. The black area with red text to the right is the nicklist. Everyone in the channel is listed there. The red area at the bottom is the Editbox. That is where you type what you wish to say, or any commands that you wish to enter.
A Query window or Chat window will not have a nicklist, (since there are only the two persons in a one-to-one chat) but is otherwise much the same.
Anything you type in the editbox will be 'said' to channel. You should not type your own name. The server will prefix everything you say or do with your name automatically.
Back / Index / Next
Copyright ©2001 MIRC
Workshop
All rights reserved
Search engine optimisation positioning tutorials| Internet Marketing Consultant